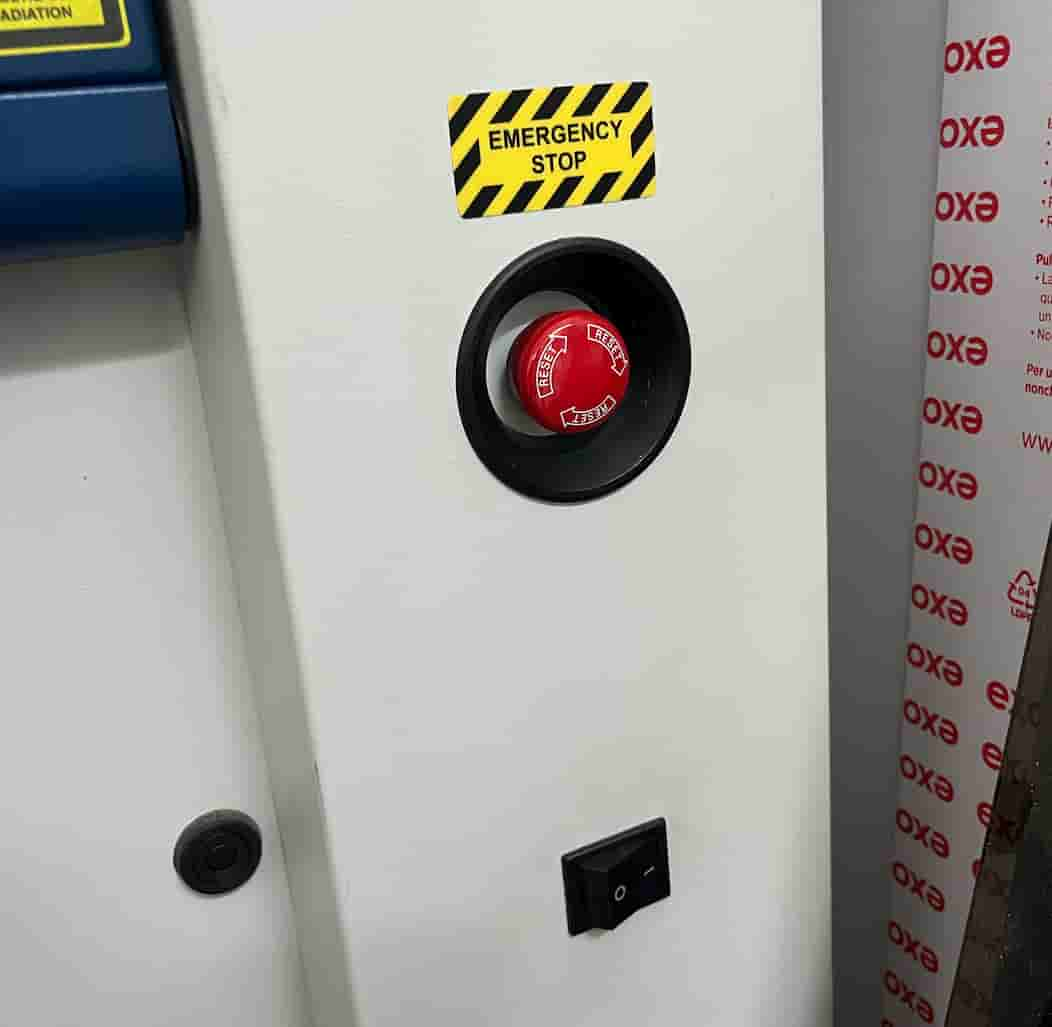
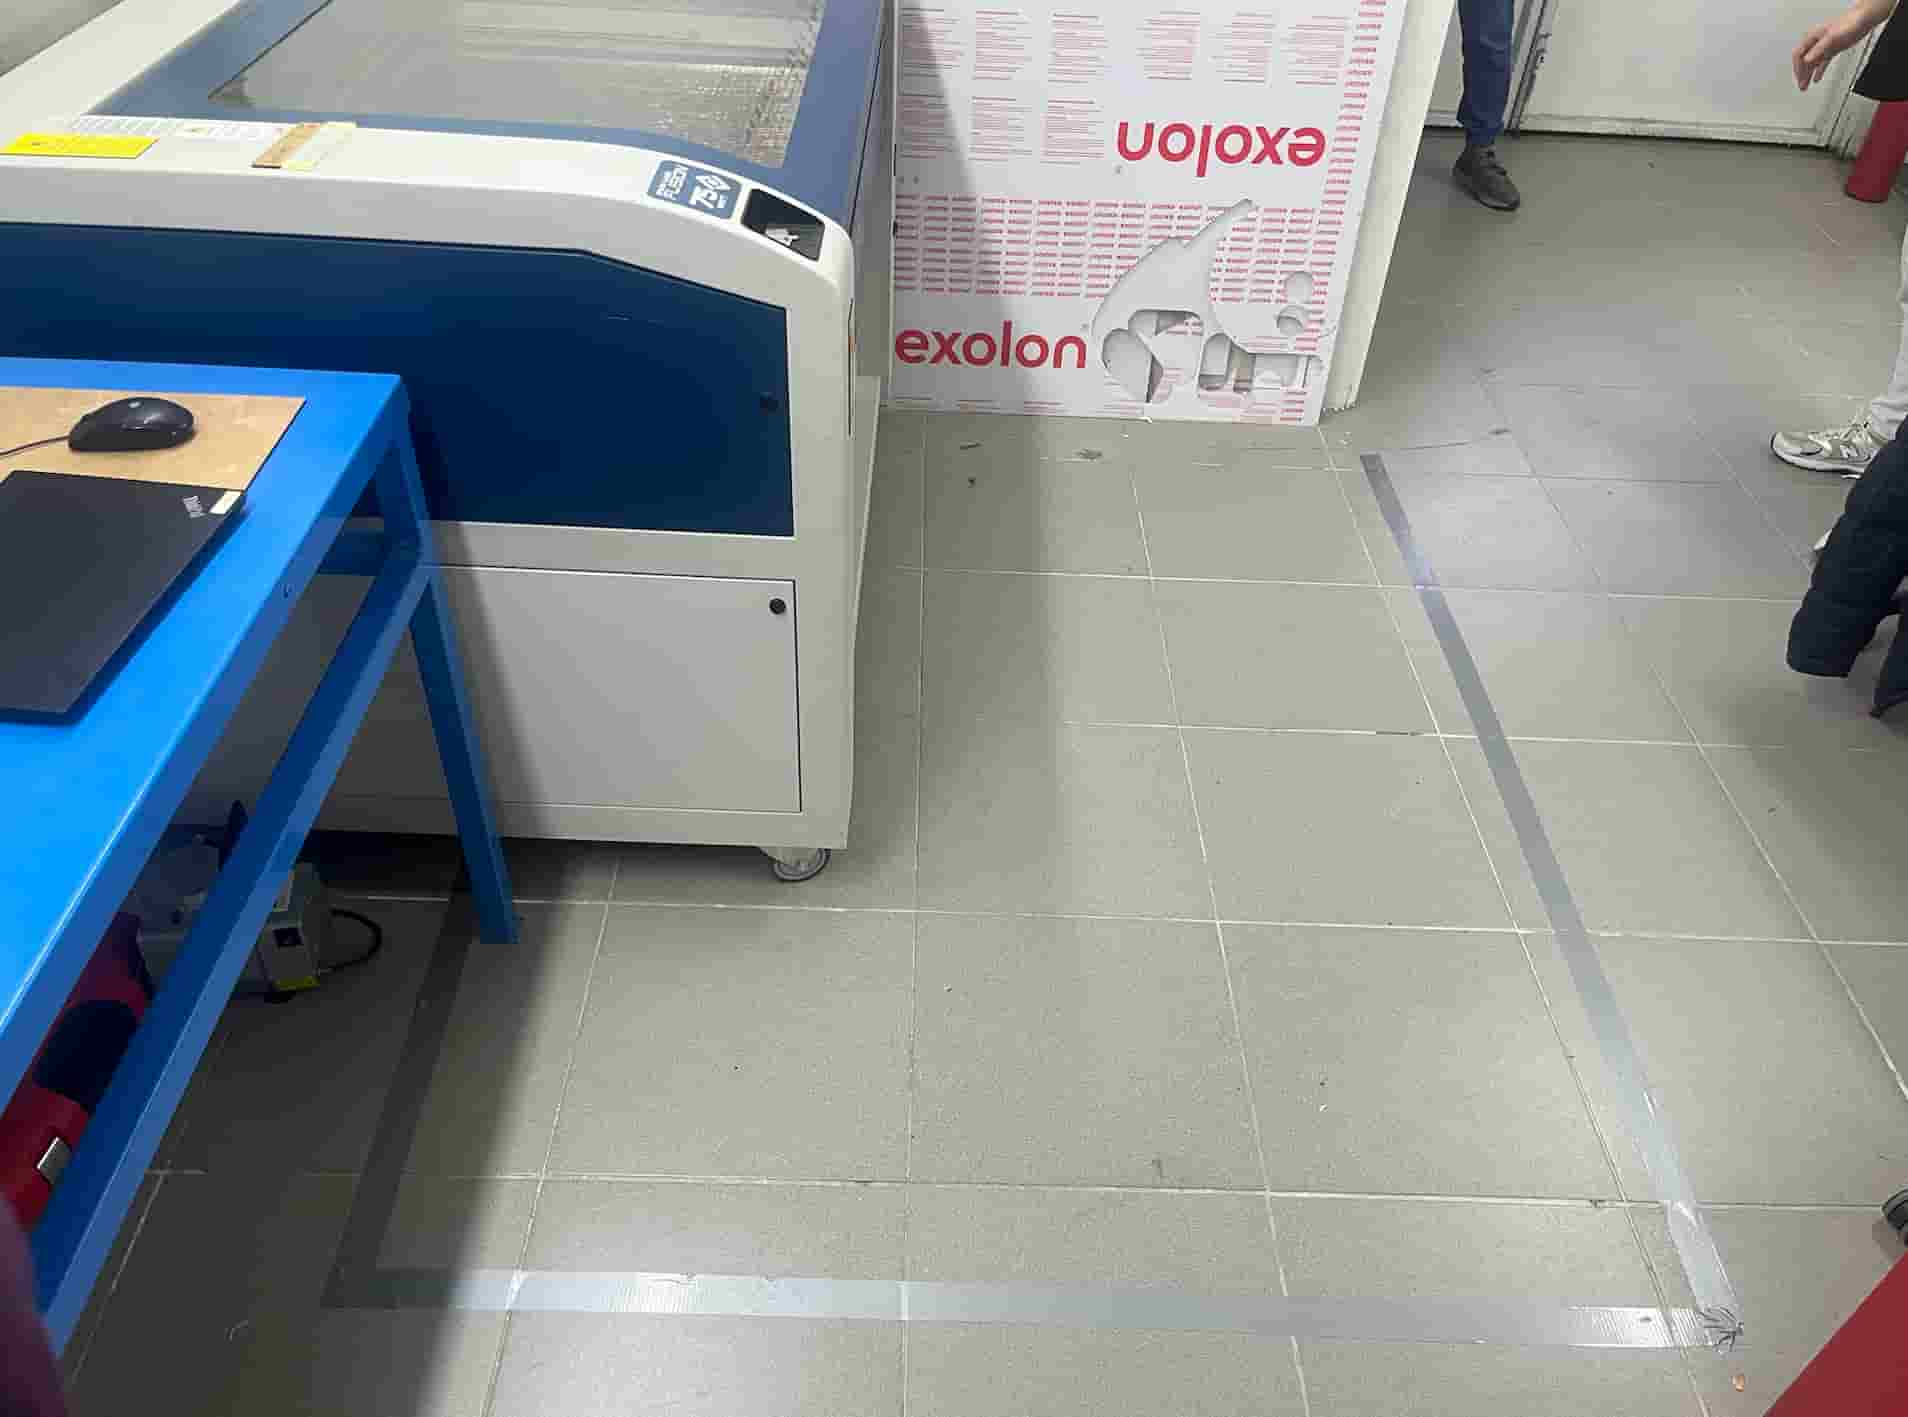
We turned the machine on by pressing the black button on the laser cutter. The red button on the following image is the emergency stop button.
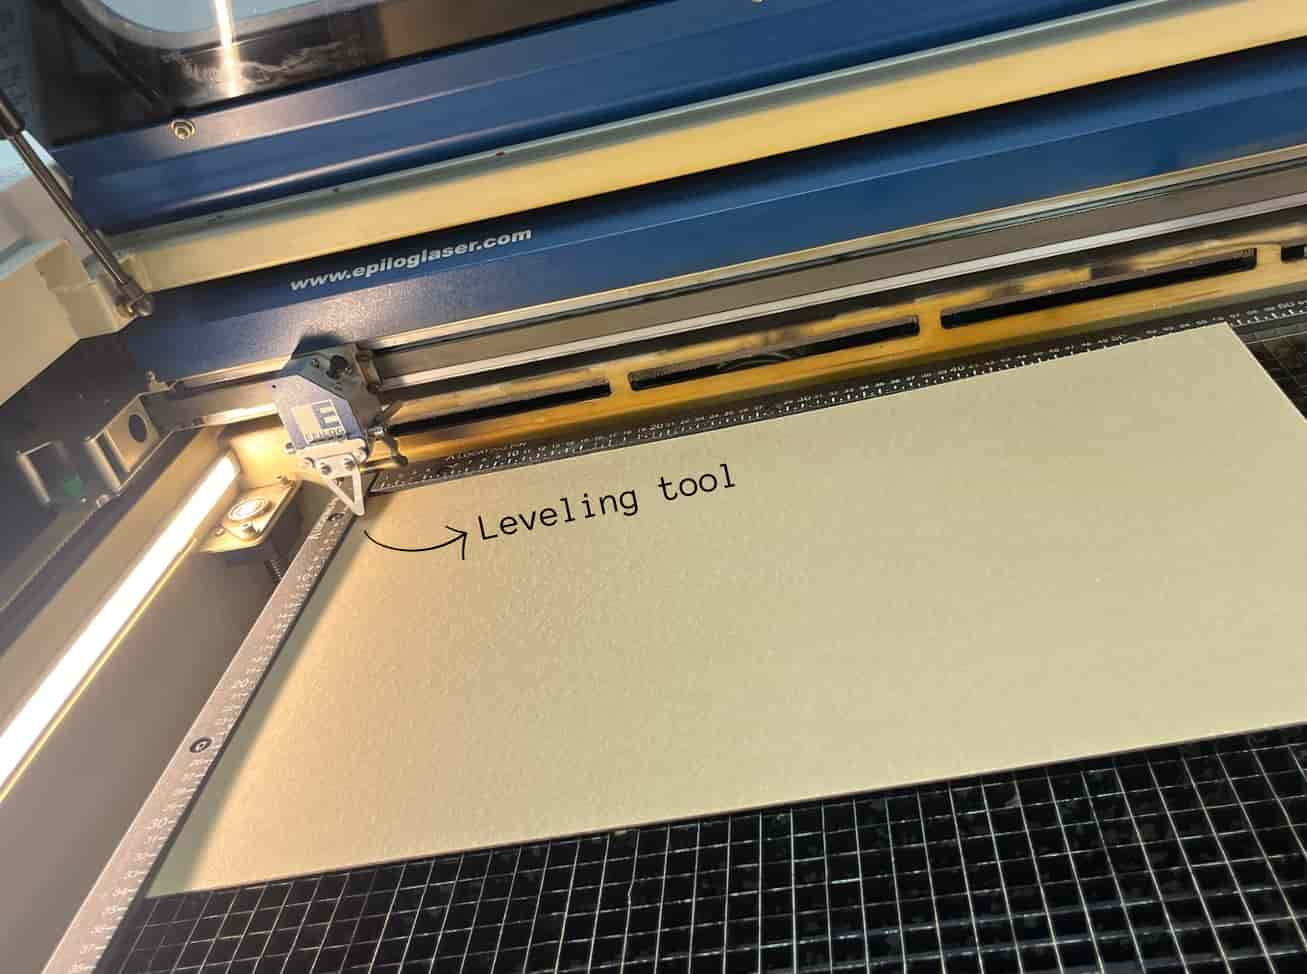
First, we tried to make the cardboard as straight as possible and ended up taping the sides. We put the leveling tool on the head to level the bed. The goal was to get the leveling tool as close to the wood without it moving up.
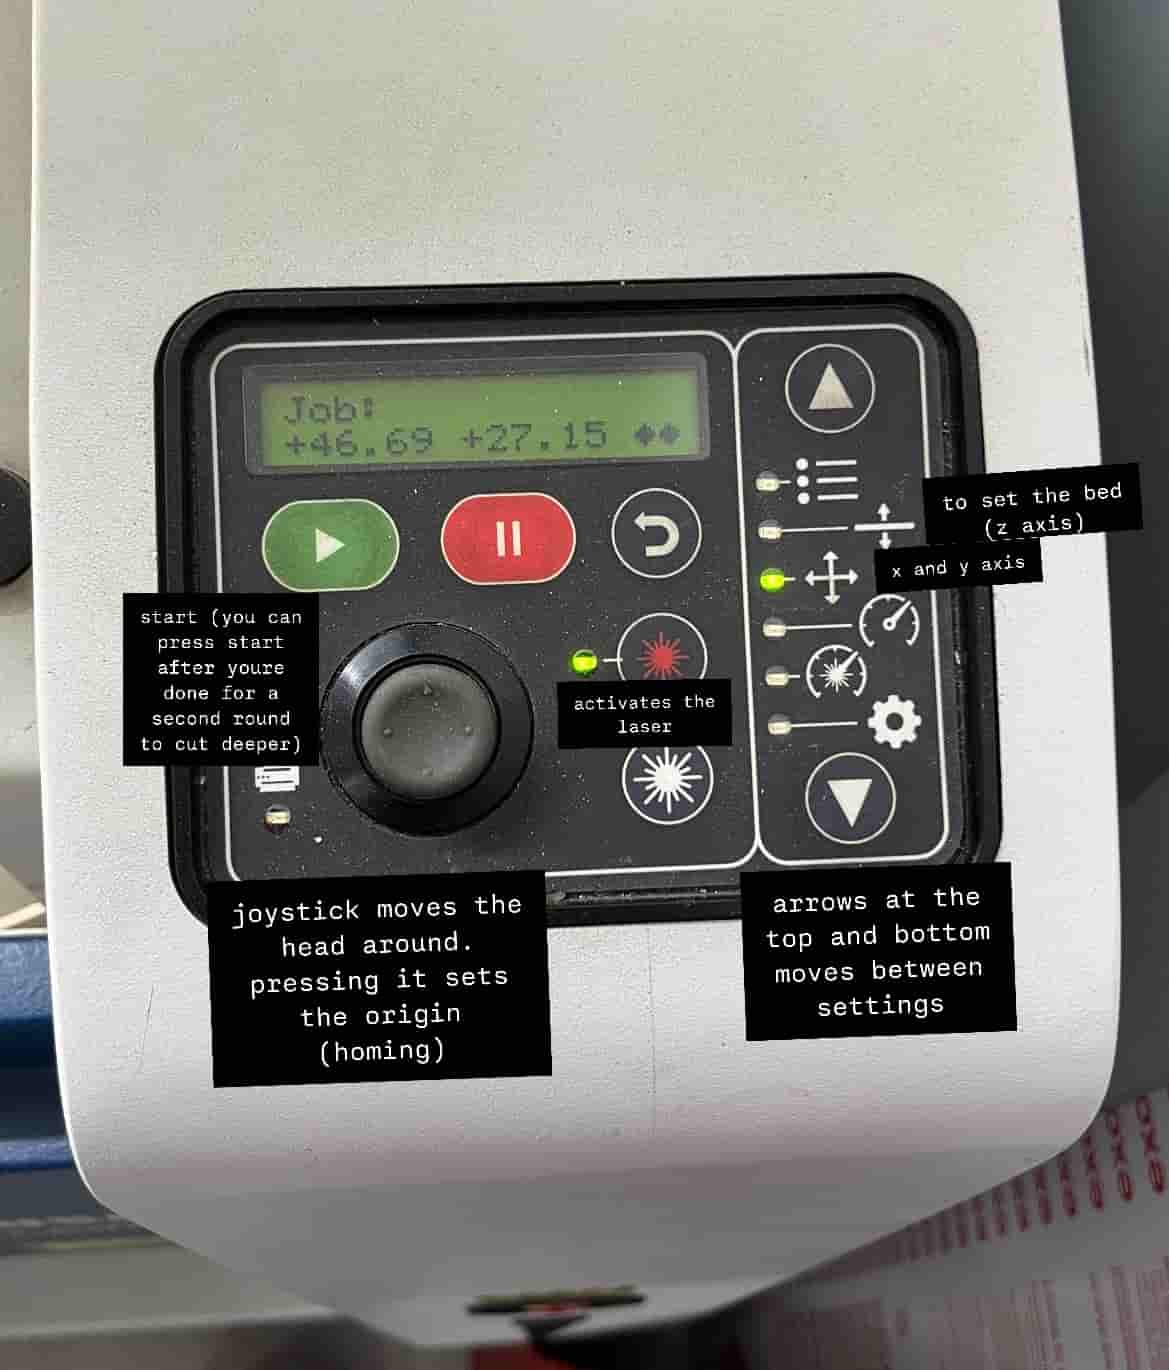
We activated the laser, moved it to the left top corner, and pressed the joystick to set the origin.
Here is an explanation for what the buttons do
Here are the settings we used
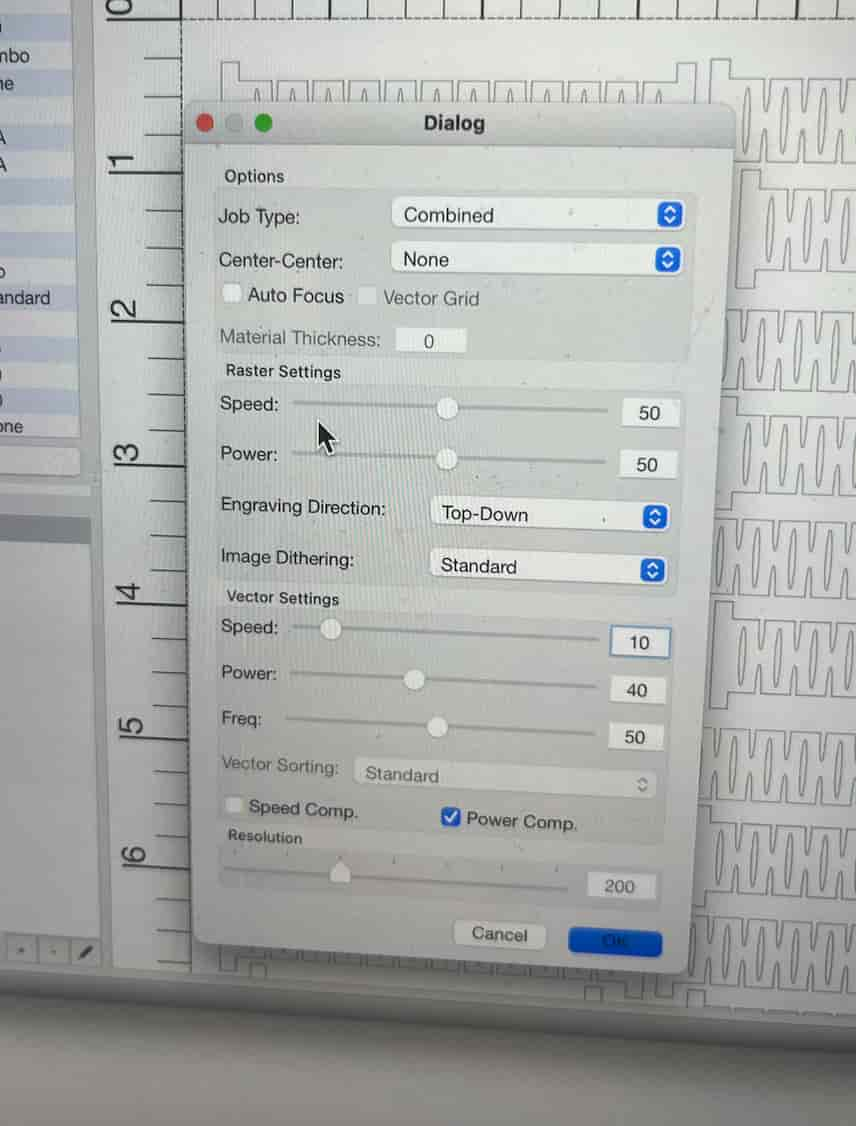
Raster: for scraping the surface
Vector: for cutting
Combined: uses the suitable one of the two (raster or vector) depending on the task
SAFETY:
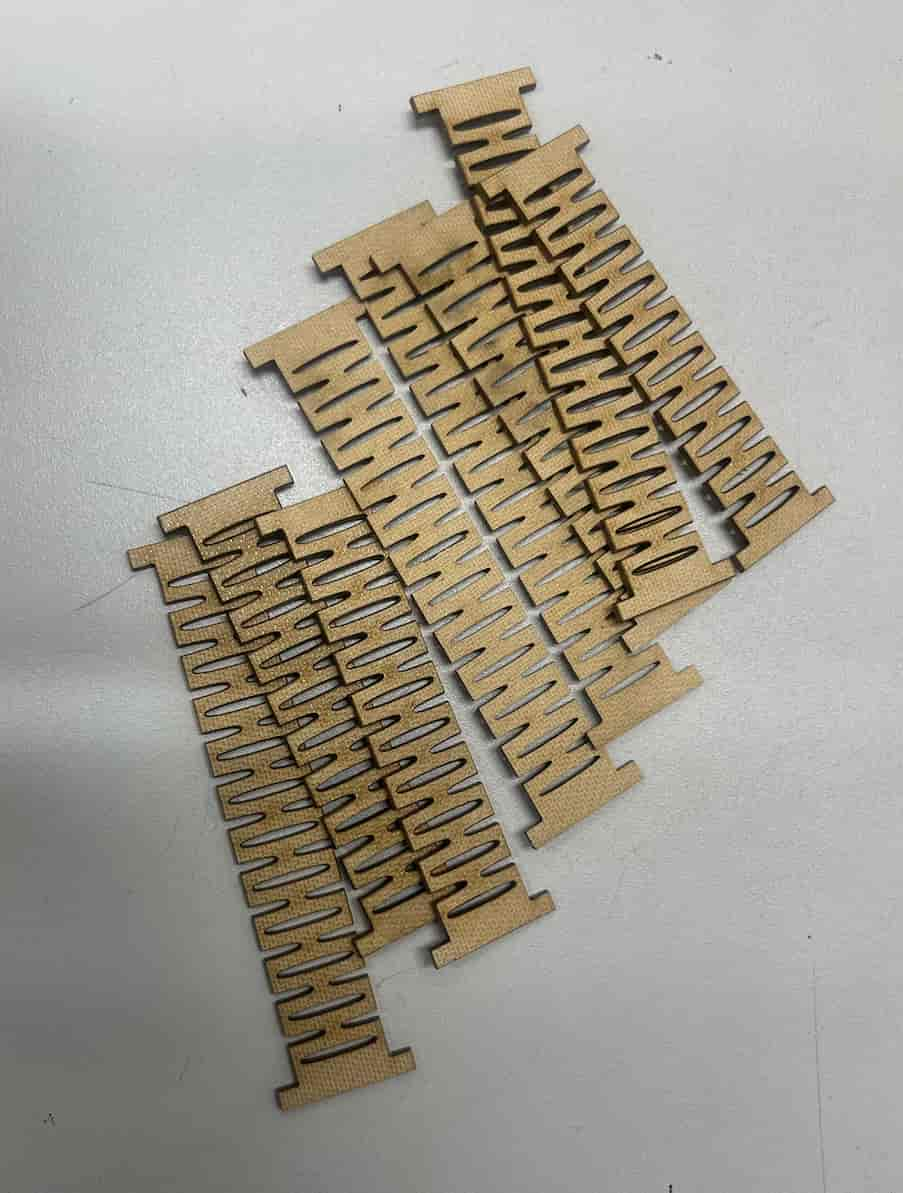
Here are our first-try products!
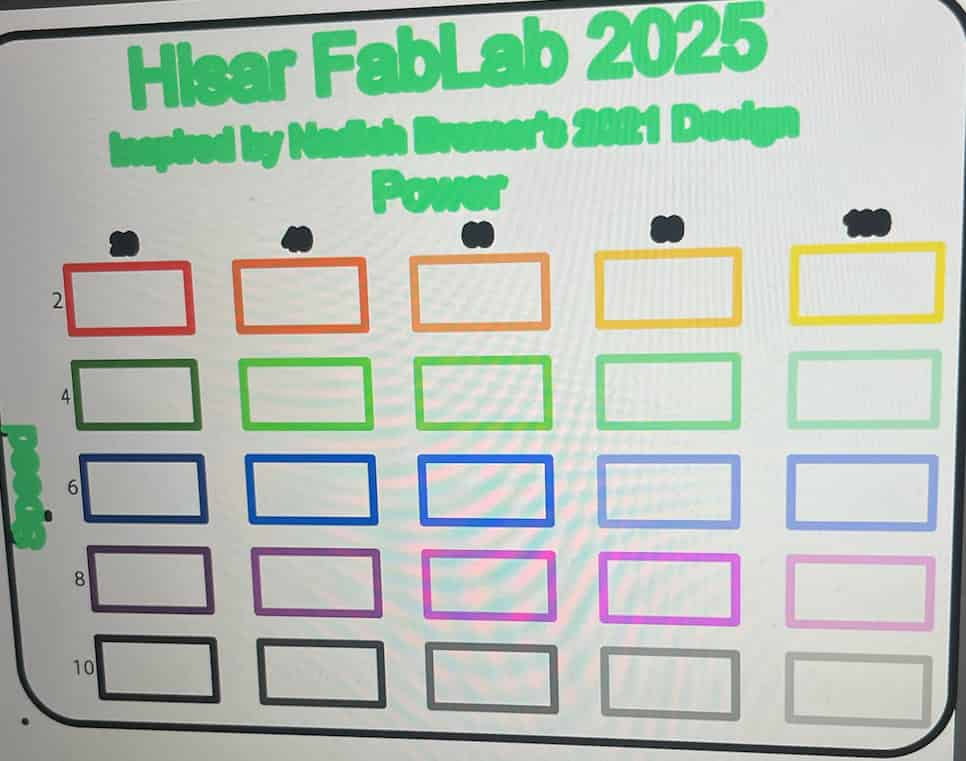
Optimal Power and Speed Test:
We cut out squares with different speed and power combinations to find the optimal one
Laser Cut Joint Fit Test:
We drew this design on Fusion to test different joint sizes to determine the best fit for 4mm material.
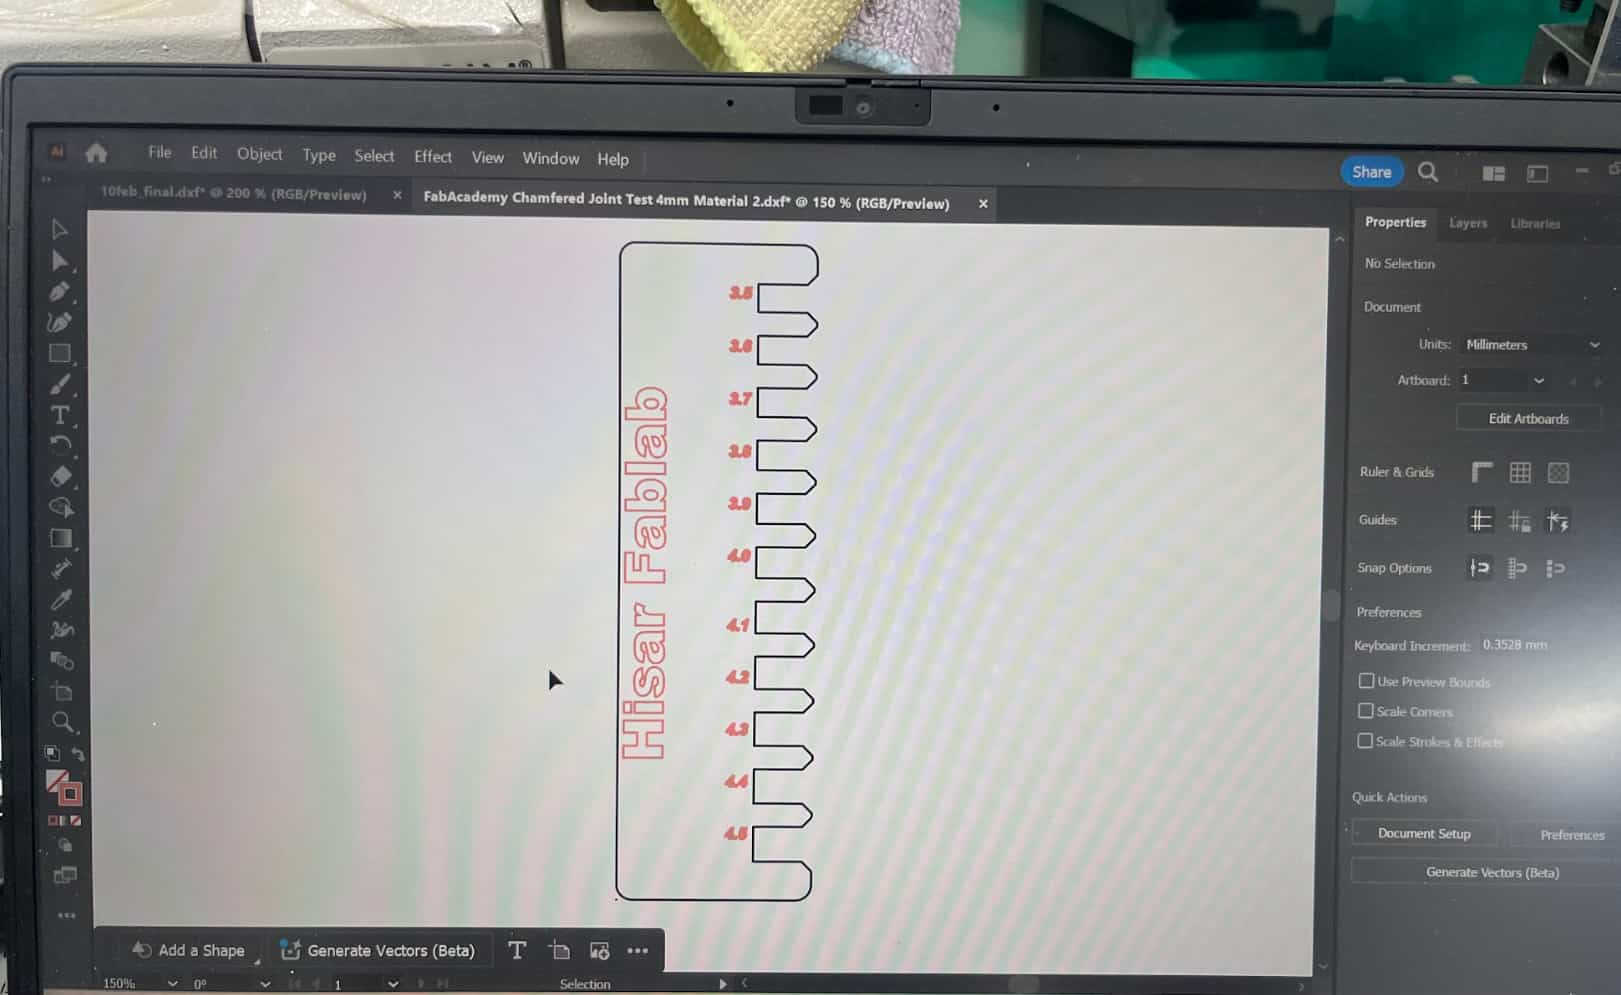
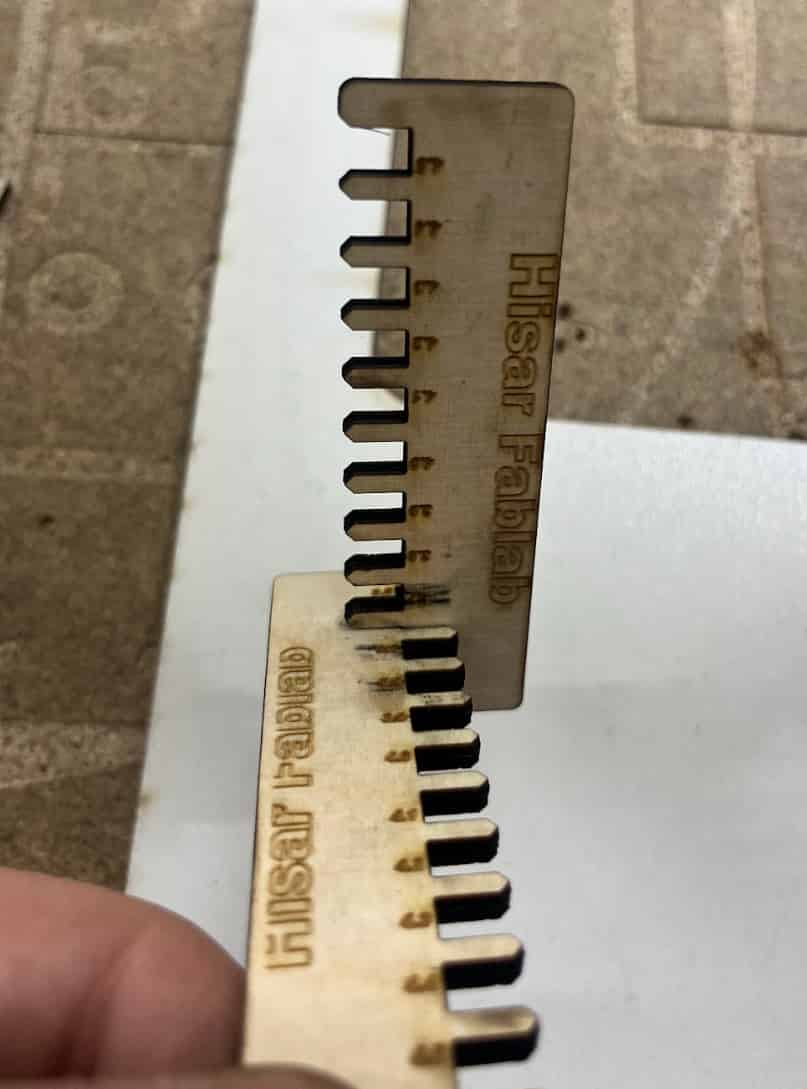
We liked 3.7 or 3.8 mm the best